Showing posts with label large scale print. Show all posts

Sunday, August 02, 2015

Artist in Residence-Pt 1 - Day 2 - Mill Pond Gallery, Richmond Hill


My first real working day in residency was spent sorting myself out. And in between that I had a few visitors.

My first visitor was a father with his daughter who were looking for a bathroom for her. So my good deed for the day was accomplished. Later my collaborative ceramic friend Minda came by with her husband and they looked at my work and at the same time another artist dropped in.

The Gallery was quiet but I expected it.

I couldn't decide what to do, or even what to choose to do, so I did a simple task of reclaiming some canvases.
Even this simple gessoing is a pain in my small work spaces. But here I worked outside, using the garden hose to first wash the canvases off (5 years in storage) and then right after painting it rained.

No harm done. I hope to get something onto them today or tomorrow. I want to start.

waiting for tomorrow


Residency Info and Hours:
Mill Pond Gallery
314 Mill Street
Richmond Hill, ON


Gallery Open/Artist in Residence
July 31-Aug 6
HOURS in attendance:
Fri July 31: 1pm-8pm
Sat Aug 1: 12pm-5pm
Sun Aug 2: 12pm-5pm
Mon Aug 3: 1pm-8pm
Tues Aug 4: Gallery Open 1pm.
NOTE: I'm in attendance: 5:30pm-8pm
Wed Aug 5: 1pm-8pm
Thurs Aug 6: 1pm-10pm


The Interior of the Fridge Upon First Look: 3 bottle of wine, juice with Minion label, water, ice tea, old fruit, plates, container of peaches, and possibly my first still life subject.


Saturday, August 01, 2015

Artist in Residence Pt 1- Day 1 - Mill Pond Gallery, Richmond Hill

The OPEN window
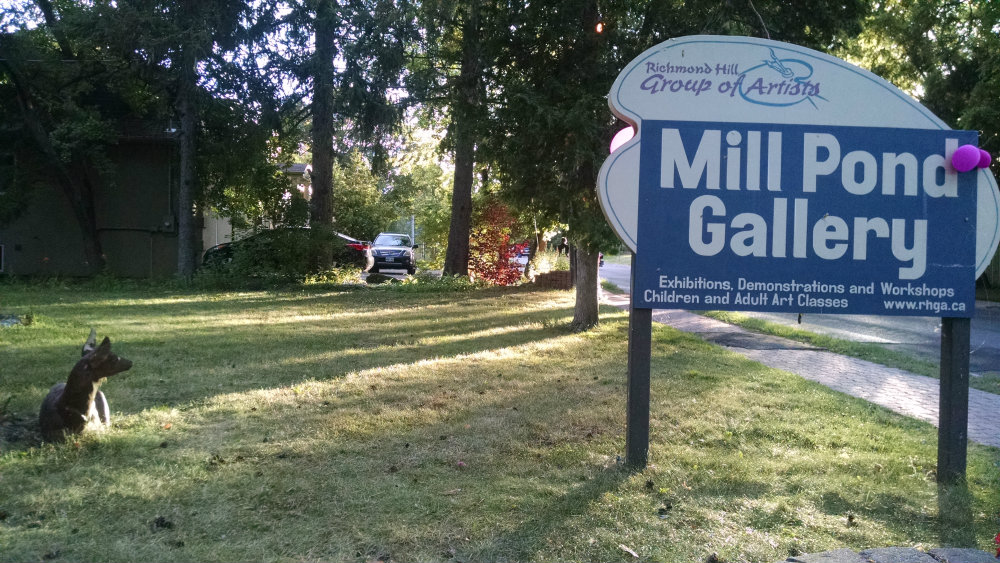
 I started my first of two artist in residence weeks at the Mill Pond Gallery yesterday. This site is a house now used as the home of the RHGA: Richmond Hill Group of Artists. I am a new member. 

from home studio to temporary home studio

Lucky for me, they decided to try an Artist in Residence program over the summer to coincide with the Mill Pond Concert series across the street at the (yep) Mill Pond. 

front room with fireplace and mantle
large front window
front room
The Gallery is given over to the artist or artists to display their work and to make work. For me, it is an opportunity to simply see my work. I have one small wall in my studio, to see my artwork. It took me the whole day to transport, and install my work. The labels are done for the downstairs area but much is left to do upstairs. I'll spend some of the (short) day today doing that but have to begin my work today. 
hallway space
My plans for the week including carving a block a day for my residency and making a multi-image print representing my time here. In addition I will start my next large scale suburban-themed woodcut and a large scale painting. Topic still to be decided. These projects will continue into my second residency at the end of the month.

stairwell

funny stuff all upstairs
This is a real treat. I have searched my archives and on display are all my big pieces. Some new, some old. It feels like a retrospective and a new start at the same time.
 
the sun sets on Day#1

Drop by anytime I am around. 
Residency Info and Hours:

Mill Pond Gallery
314 Mill Street
Richmond Hill, ON


Gallery Open/Artist in Residence
July 31-Aug 6
HOURS in attendance:
Fri July 31: 1pm-8pm
Sat Aug 1: 12pm-5pm
Sun Aug 2: 12pm-5pm
Mon Aug 3: 1pm-8pm
Tues Aug 4: Gallery Open 1pm.
NOTE: I'm in attendance: 5:30pm-8pm
Wed Aug 5: 1pm-8pm
Thurs Aug 6: 1pm-10pm
 
BONUS *rainbow* on my way home


Wednesday, August 13, 2014

Steamroller Print - Block Carving Pt. 3 something new this way comes

Every once in a while you get a gift. You make a breakthrough and you know it's going to change how you work. My brother gave me a dremel knock-off tool probably 10 years ago. I just never had the need for it but I always wanted it. He used it often as he worked in wood, but I was happy with my hand tools and the marks I got from them. In printmaking class I saw my teacher use the dremel making intaglio plates with the dremel on sheets of acrylic. I tried it. It didn't catch me. But I woke up with a nagging feeling that I should get it out and try it. It turns out it was exactly what I needed to give this block that little push over the edge that is so exciting.

I had to move my work into the studio due to a week-long forecast of rain. I got myself set up for the duration.


Having never used the dremel tool before I just picked it up and tried it. Risky but whatever. It worked. I knew I could just carve it away somehow if it went wrong.

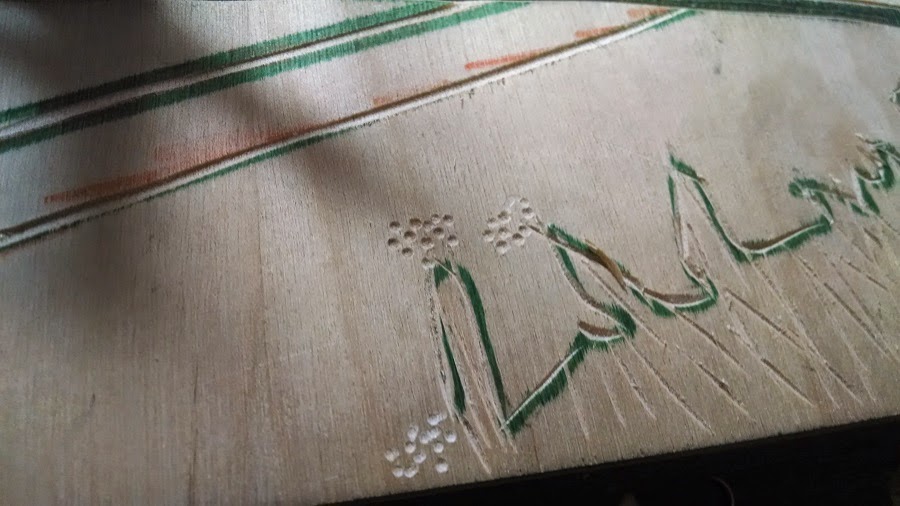
So the first thing I got were these delicious circles! Wow! I hope they are deep enough to print but we'll cross that bridge later. I used the dremel to texturize the shoulders of the road as well.

And then I knew it would make or break the only text in this image. It is a key part of the piece and if I carve it wrong, by hand or with the dremel, I am really in for a hard time to get this print looking right. So, very slowly and very very carefully bit by bit I carved away the wood to reveal the sign at the side of the road. Text must be carved as its mirror-image so it will print properly.


The sign is complete and intact. 


I added some lines to the trees behind and around the sign and left it for the day. Next will be bringing out some details in the farmland, adding some shading to the housing development and then the rest of the block, over half of it, is the sky. A lot of work ahead.

Saturday, August 09, 2014

Woodcut Progress for Steamroller Event: Pt. 2 - 5 hrs later.

Here's what I started with before I carved anything.
I began by tackling the hydro pole in the center of the block. It's an easy shape and I can get used to the wood and how it feels. The wood is soft and my tools are working great.


I cleaned out the areas of the center as far as I am willing to go for now.  
I decided to move onto the right hand side next. First beginning with the housing outlines.


Carefully adding in the details. I often do all the upstrokes and cross strokes at the same time as I have to turn the board to accommodate the tool/my hand.
I worked on the lawn,
and the roadside grasses.
This is where I was after two days of work.

14 days to Printing with a Steamroller at Quest Art in Midland: Pt.1 Image transfer

I'm involved in a printmaking event using a steamroller as my press. This is happening August 23rd, 2014 from 10am to 3pm at Quest Art. Quest Art is in Midland, Ontario. This is their link to the event CLICK HERE My general topic for prints these days is Suburbia. I live in the deep suburbs north of Toronto now and I am really interested in the goings-on here, though what's happening seems so invisible and so bland that it has now grown into a personal challenge to capture.


The first step is to find/create an image worthy of the work involved in creating a woodblock carving. I need something that speaks to me personally. Once chosen I re-sized and re-printed it, using the Paint program that came with Windows* which enabled me to print it onto several sheets of paper so it would cover my woodblock which is 18" x 40".


I taped the pages together like a giant puzzle and then flipped them over to coat the back with black conte crayon so I could transfer the basic outline to the block.


I placed the image with the conte on it conte side down onto my block then I followed the basic outlines with a pencil, pressing down so the conte would mark the block beneath it. Even at this first stage I am editing the image, already it is beginning to change from the source material as I leave this and that out or adjust the placement or size of something to make a better print.

Once this was done I went over the transfer lines with a green marker to solidify the image for myself and to see just what I have set myself up to do. 
And the answer to that is, as usual, something complicated.


*you can scale your images larger using Windows paint by clicking FILE >print, then PAGE SET-UP, then SCALING>fit to: and choose how many pages you think you need. This turned out to be, for me, the easiest way to do this at home.